I will start off with an apology in this post. In my Battle with Luke’s WoC army on Friday, I started out making notes but these went somewhat out of the window as I realised I really needed to concentrate on what I was doing as I didn’t know my own army very well and having played Dwarves almost exclusively for a year, my knowledge of the combat phase was just as ropy (a shocking state of affairs).
As such, this report, even more than normal, is subject to memory rather than notes so may contain a few errors.
A recap of Luke’s list can be found here: Beastmen vs WoC – SELWG stage 2 practice game – Part 1 – lists
A recap of my list can be found here: The Herd of Khazbar the Magnificent
Scenario
We rolled Take and Hold. Played as per the rule book but victory goes to the general who has the most fortitude in their opponents half at the end of the game.
We completely messed this up (my fault really) and played as per the rule book and looked at victory points.
Terrain
Luke rolled just 2 pieces of scenery:
1 * Charnel Pit (units within 6″ are at -1 LD) – represented by the crater.
1 * Forest (turned out to be a fungus forest – causes stupidity)
The crater on the maps represents the Charnel Pit.
Secret Mission
We chose to use secret missions as this was a practice game. I chose the standard, stash the cash (choose a terrain feature outside ur deployment and get points if no nme occupy it). I completely forgot to ask Luke what he chose (are you spotting a trend here).
Pre-match rolls
After chopping and changing, the spell selections were as follows.
The Great Bray Shaman: Melkoths miasma, Enfeebling, Withering and Pit of Shades.
The shaman: Wyssans and Amber spear.
Daemon Prince: Acquiescence, Hysterical frenzy, Slicing shards, Phantasmagoria and Cacophonic Choir.
Sorcerer: Searing Doom and Glittering Robe.
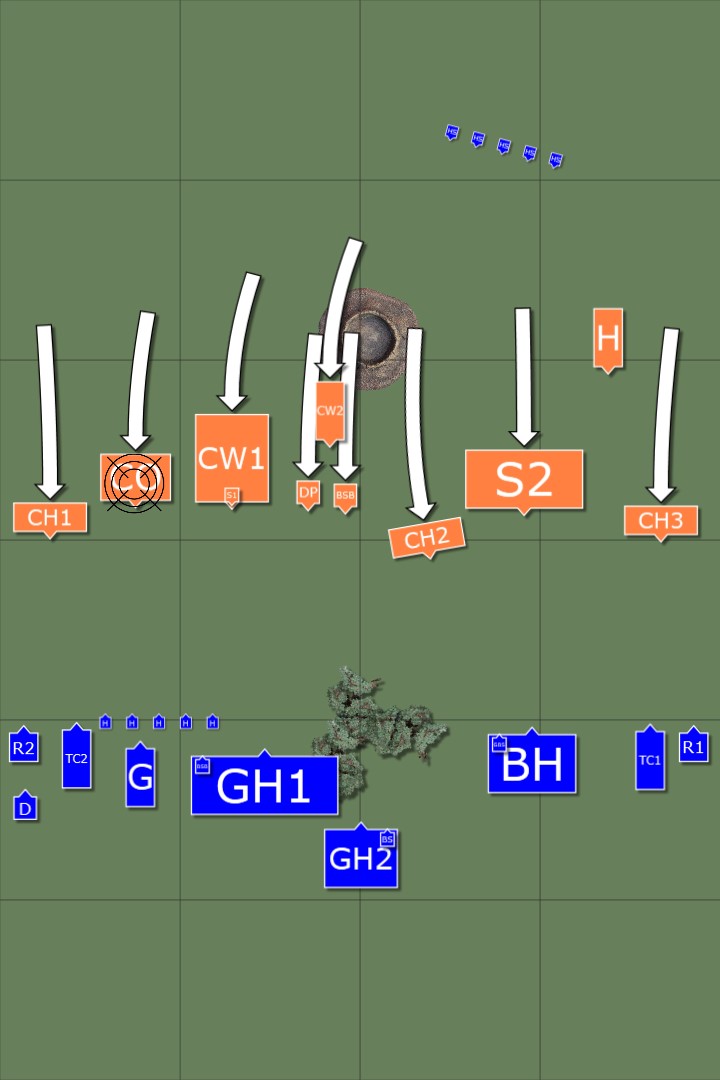
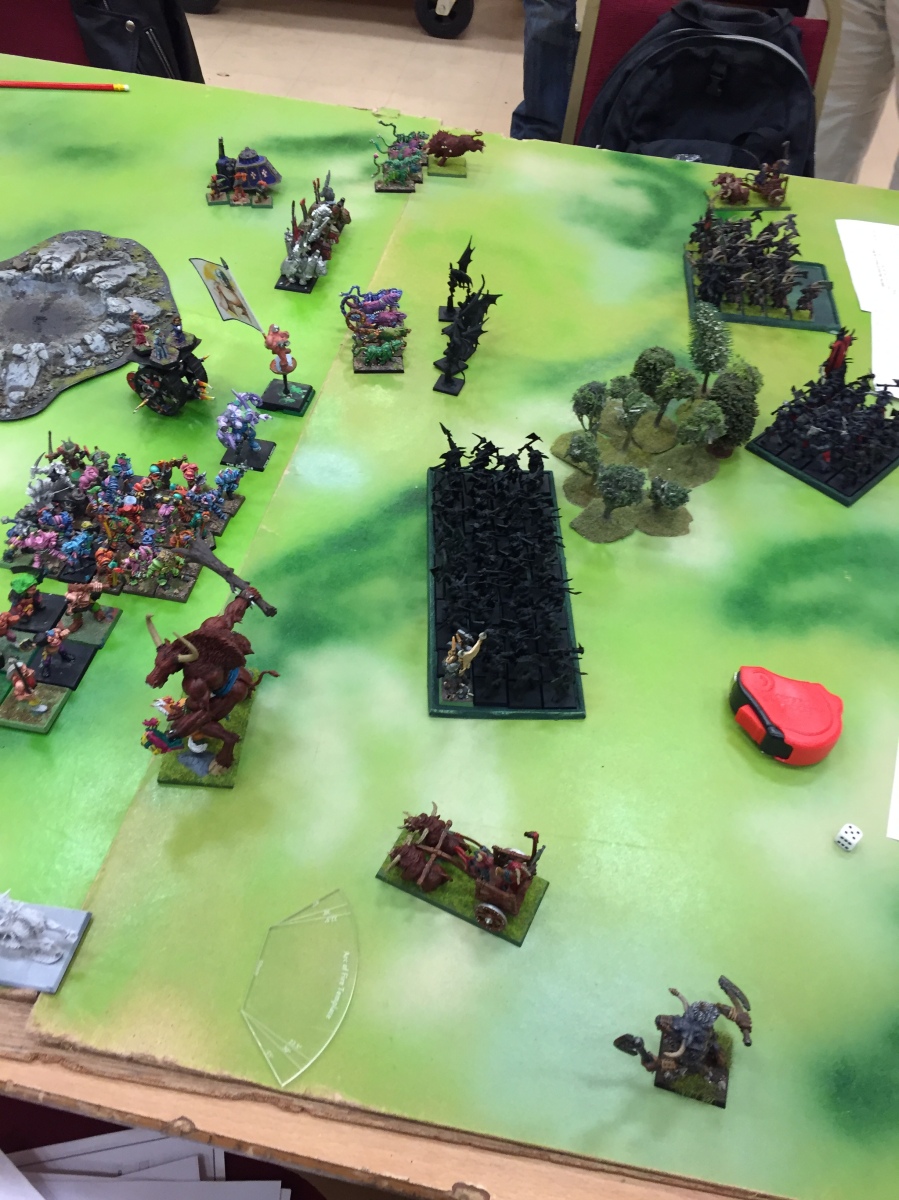
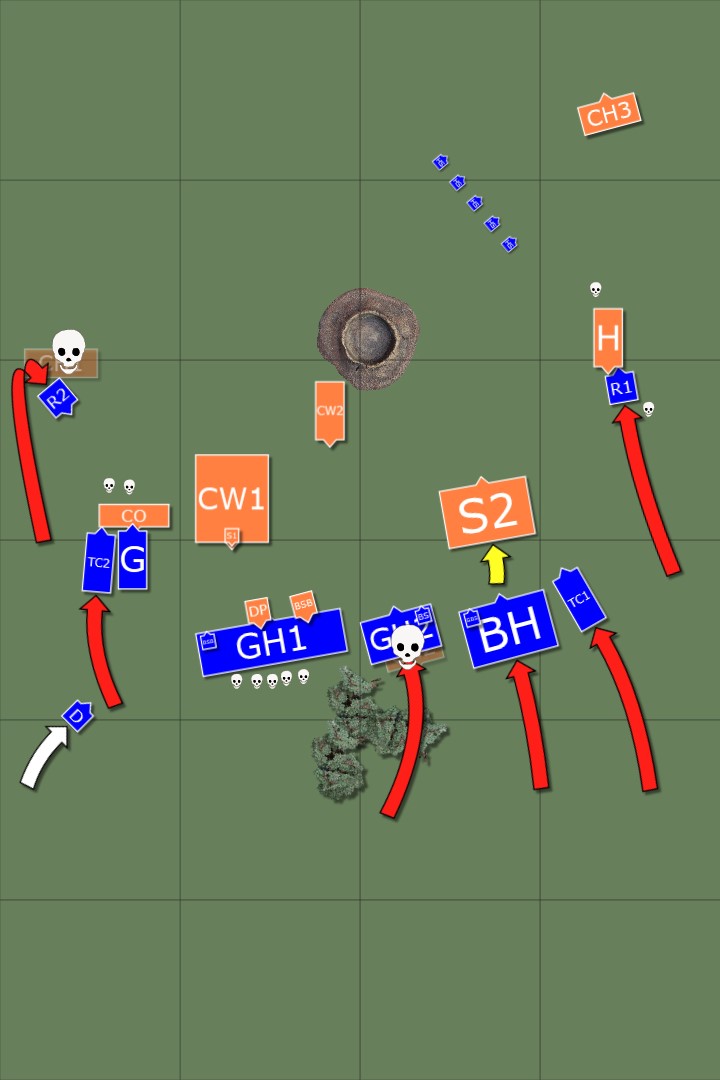
Deployment
I lost the roll and placed the first unit, we then alternated with Luke getting the bonus to the first turn roll for completing deployment first.
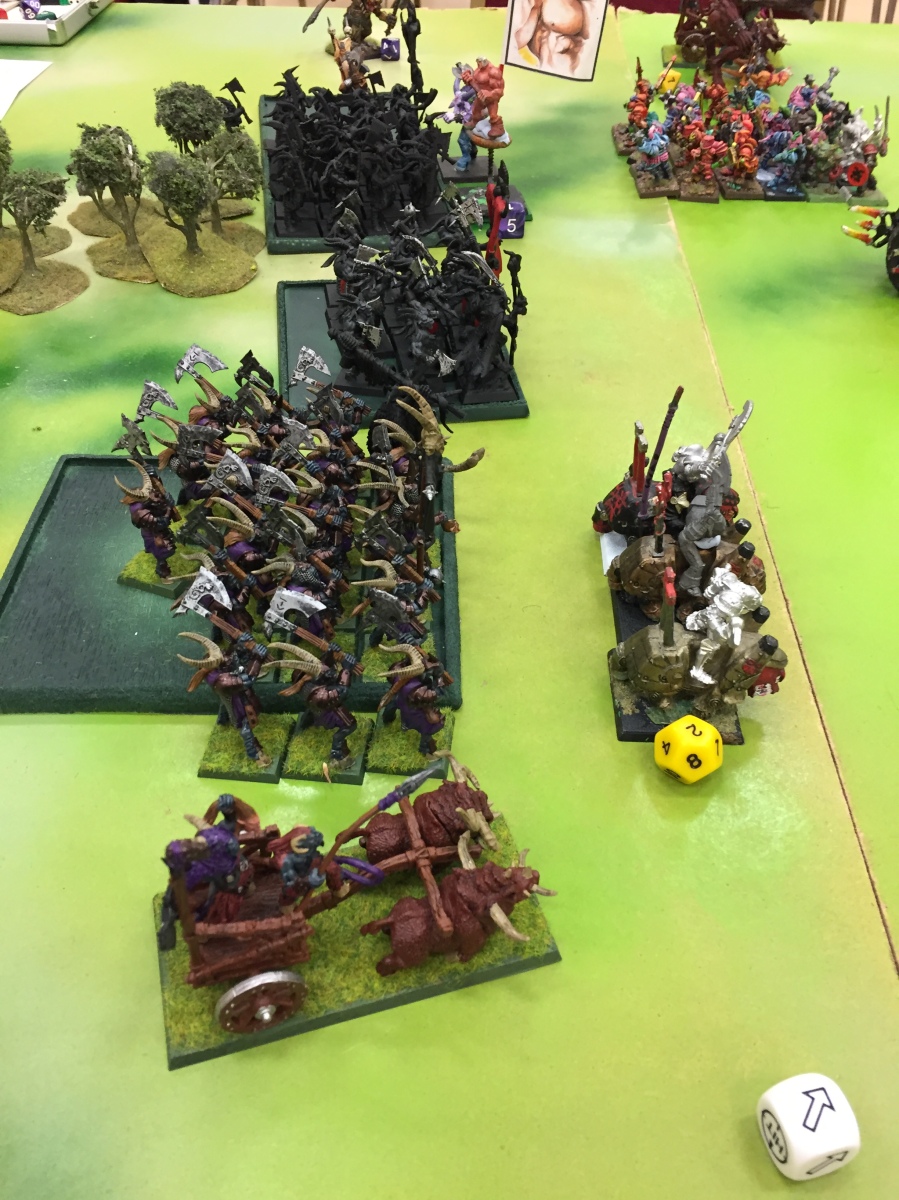
Warriors deployment


Beastmen deployment


Full deployment


Turn 1 – WoC
As you might have expected, the warriors started their turn by moving everything up the table. Luke was careful to leave most units at a distance where it would be difficult for me to complete charges.
The chalice of dark rain was invoked to attempt to neuter the hellcannon, so he marched it forward instead.
There was an average magic roll and the Warshrine cast it’s bound spell and the Ogre champion gained +1 WS. Searing Doom, cast at the Minotaur, was dispelled.


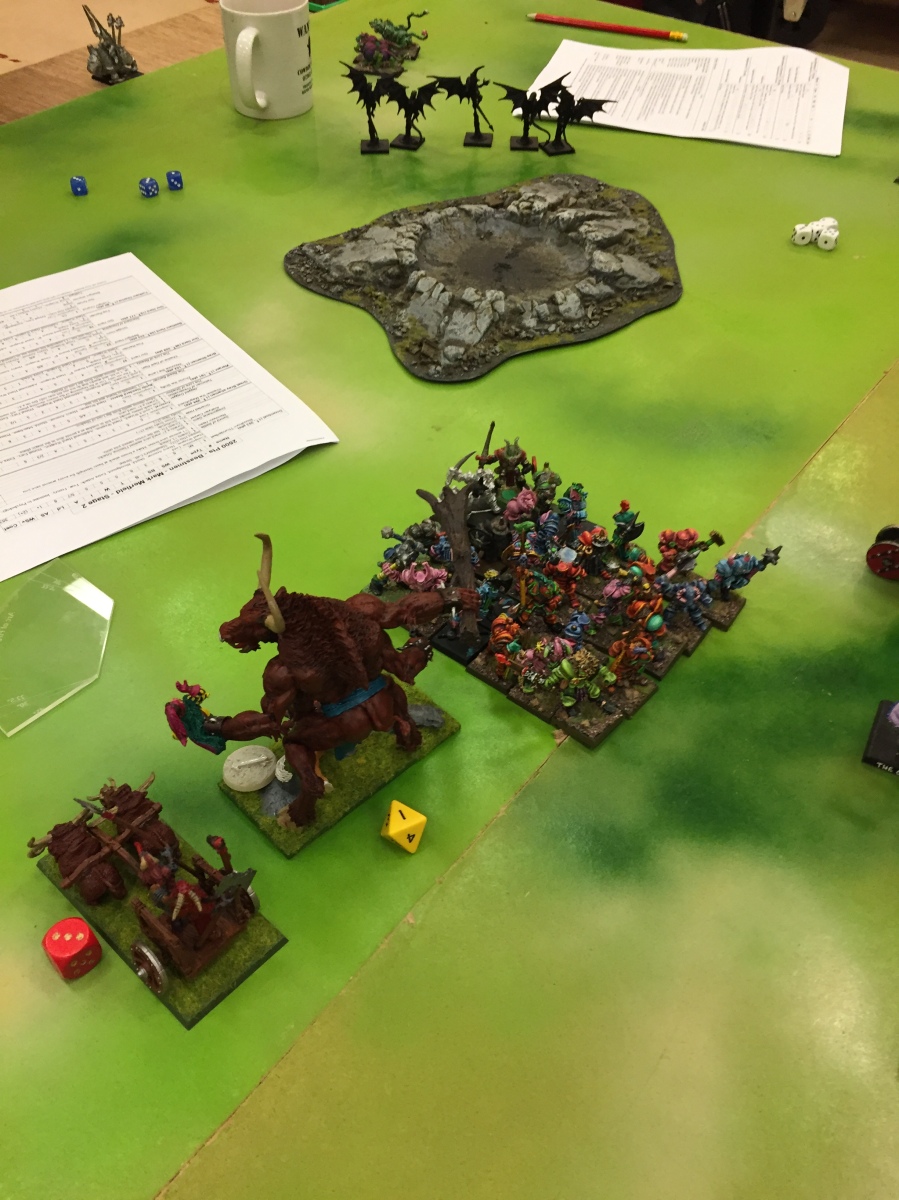
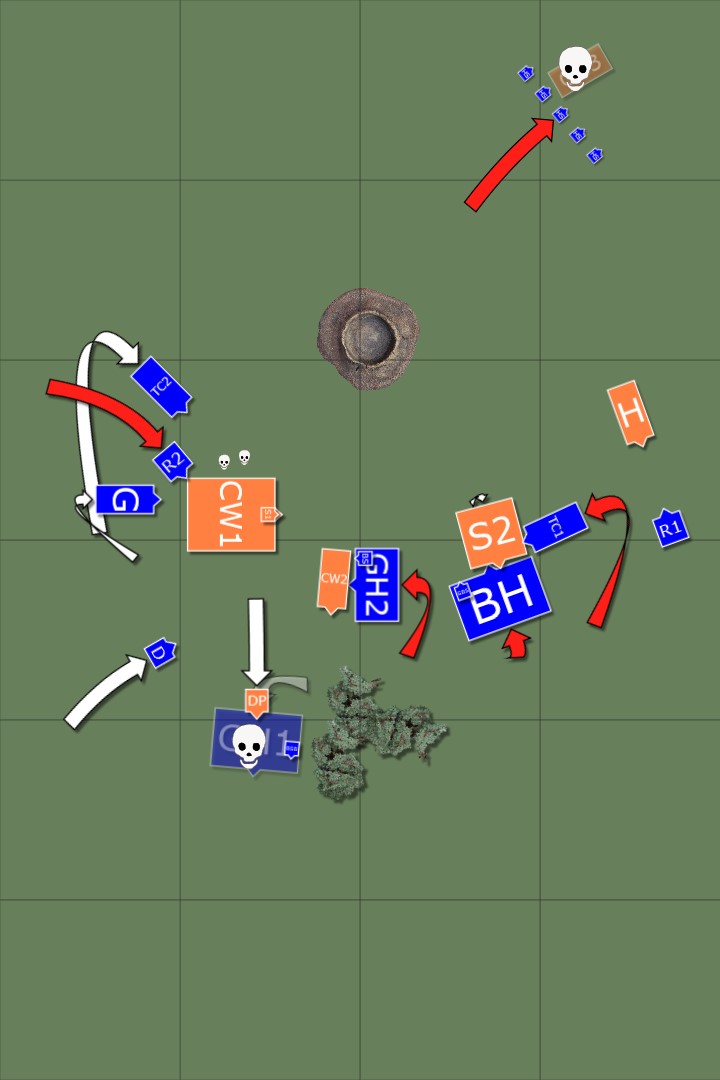
Beastmen – Turn 1
The herd responded as aggressively as the Warriors, with the Doombull charging the Hounds on the left (who fled) and the right Razorgor charging the Hounds on the right, who held, at least until one of their number died when they decided to withdraw with all due haste. The left Razorgor marched up as close to the fleeing hounds as possible and the Ghorgon moved up to block the ogres, whilst remaining outside of the warriors charge arc.
The winds of magic were pitiful and the only thing that went off was a boosted miasma on the warriors reducing WS, M, BS and I by 2 each.


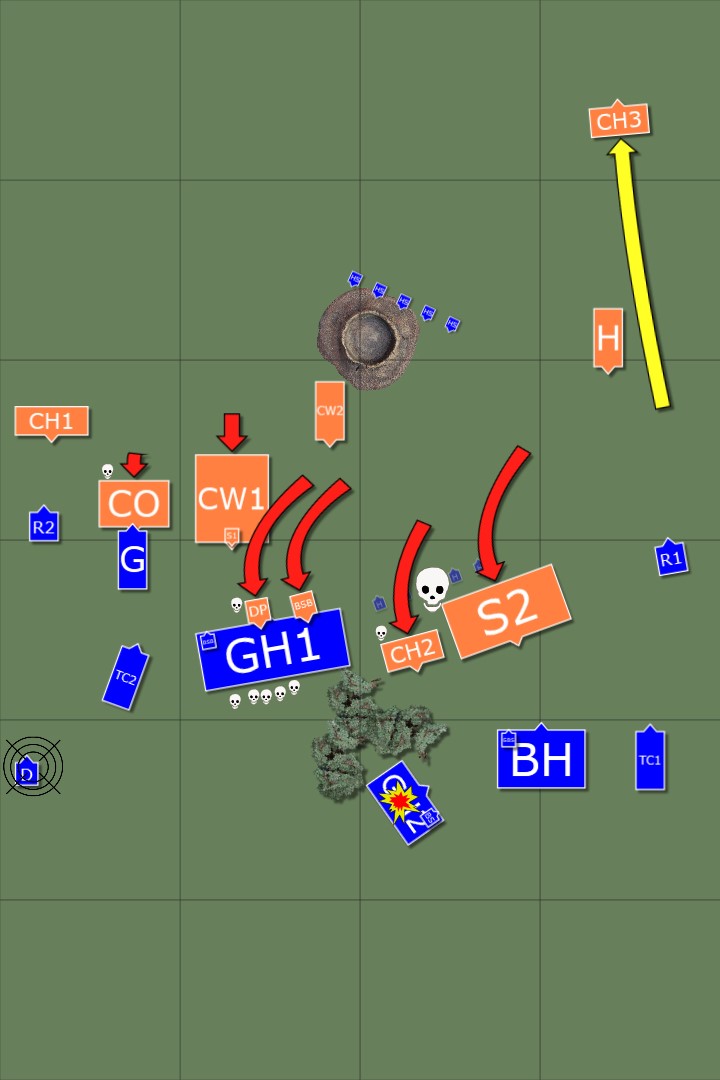
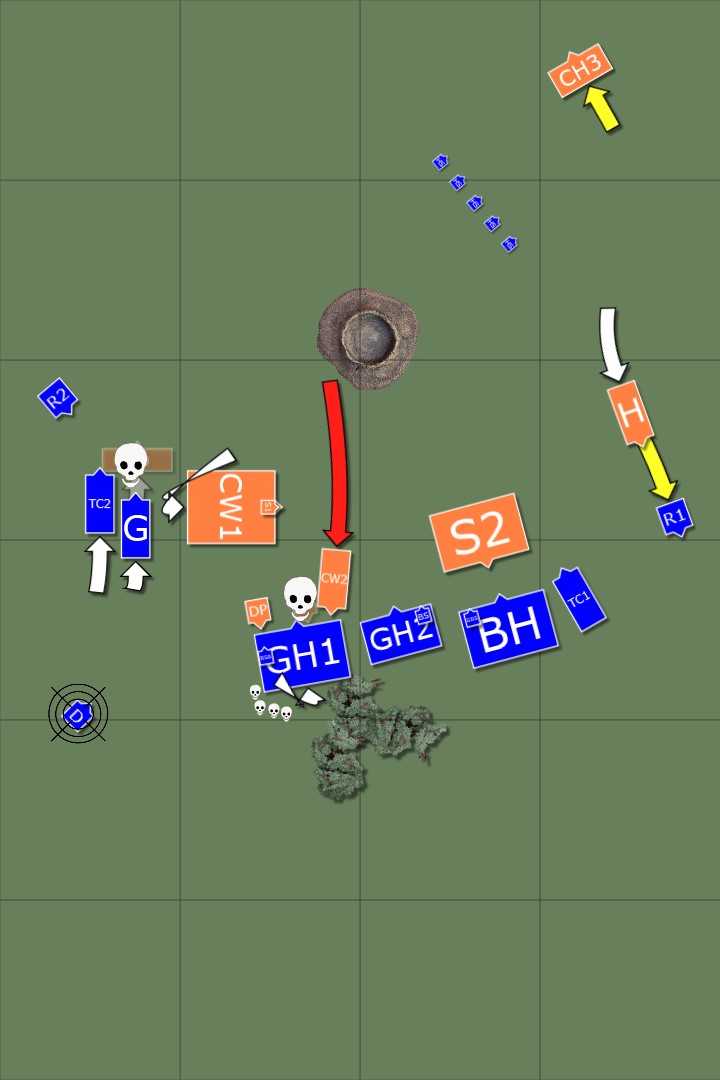
Warriors – Turn 2
The warriors chose this turn to charge in with almost everything they could. The ogres went into the Ghorgan, promptly losing one of their number. The Daemon Prince and BSB thundered into the horde of Gor but the Miasma on the warriors prevented them joining their leaders. The support wasn’t needed as the Prince ripped apart a handful of the Gor, whilst the BSB gutted the unit champion, gaining +1 Str as a reward. The Gor in return nullified the charmed shield and held due to steadfast. The Prince also cast acquiescence on the Doombull reducing him to D6 movement.
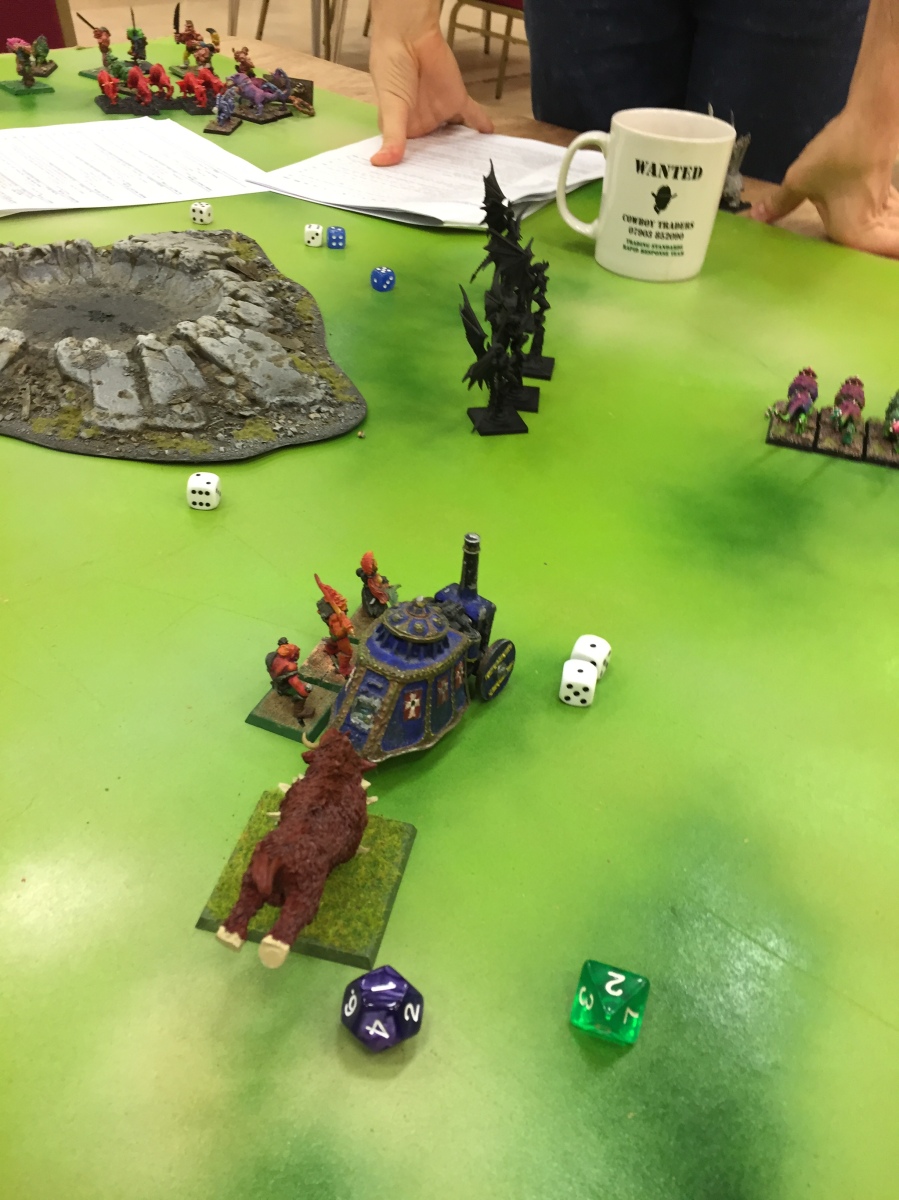
On the other flank, the Hellcannon fired at the Bestigor but it scattered, landing dead on the smaller unit of Gor deleting a full rank. The hounds and Skullcrushers charged the harpy unit, decimating them for the loss of one hound.
Beastmen – Turn 2
The Beastmen responded to the warriors in the only way they knew how and charged with everything they could. On the left flank the Razorgor charged the freshly rallied hounds, running them down as they fled. The Tuskgor chariot charged into the ogres to support the Ghorgon. Two ogres died and they failed their break test and were duly run down (I messed up on the battle reporter and showed this in the warriors turn). The Prince and BSB continued to hack through the horde for the loss of 1 wound on the BSB. The horde then reformed to maximise ranks (and conveniently removing any chance of the warriors being able to charge them next turn).
The small Gor unit charged the central hounds, killing them and over running. The Bestigors charged the Skullcrushers and with the help of a flank charge from the chariot, broke them but failed to catch them. The Razorgor charged the Hellcannon and the ensuing combat was a stalemate with a wound apiece. Finally the doombull shuffled up as fast as the random movement would allow.


Warriors – Turn 3
Due to some extremely sneaky play from the Beastmen, placing the Ghorgan 1″ away and the previous reform of the Gor Herd (I will thank Alex for this lesson learnt), the warriors were pretty much stranded. They couldn’t even wheel to aim for the doombull due to the Prince getting in the way, so Luke elected to reform them.
The Warshrine charged into the remains of the Gor horde and with the Prince and the BSB assisting, their numbers were starting to thin substantially. As a parting shot, one of the Gor managed to land a lucky blow on the BSB felling the exalted champion. The Doombull again had acquiescence cast on him much to my frustration.
The Hellcannon broke the Razorgor but was unable to catch it.

Beastmen – Turn 3
On the left flank, the Razorgor charged the rear of warriors. The Ghorgan and Chariot lining up to assist the following turn. The Doombull again shambled along and was finally not too far from some targets. The small Gor herd charged the flank of the Warshrine but this still wasn’t enough to help the combat and the Gor horde final lost steadfast and buckled under the relentless assault of the Daemon Prince, ran and were utterly destroyed by the monster.
The Bestigor and chariot again charged the Skullcrushers killing another but the combat tied. The remaining Harpies ran down the routing hounds and the Razorgor managed to rally.
This turned out to be the final turn of the game as we blatantly ran out of time.
Result
When working out the result I blissfully forgot the comp rules and instead we looked at victory points. He had killed around 590pts of my stuff vs around 600pts of his.
Looking at the photos if we’d used the comp rules it also would have been a draw as the only fortitude bearing unit of his, on my side of the board, was the Skullcrushers but they were under strength.
Evaluation
I’ll start with talking about the game length. It became very apparent to me that my knowledge of the combat phase is definitely lacking, specifically basic rules around fleeing. There were also a number breaks for rules clarification from both of us. This all combined to not make gameplay as streamlined as it should have been. My note taking was also slowing it down, which is why I stopped after the first turn.
After writing the above result section, I realised that when his Skullcrushers fled from the initial combat he would have lost another model (his standard bearer). This meant that it definitely would have been a draw. I also need to generally learn my list a little better too as, for example, my Bestigor would have captured the Skullcrusher Standard and added it to their combat res’. I must also remember primal fury for the crew and creatures on the chariots and fear and terror checks!
So what worked and what didn’t on the list. Well i’ll start with not taking a dispel scroll. I felt the lack of it even in the 3 turns we played. A 6+ spell crippled my Doombull for 4 turns. I’m not sure what I was expecting but Magic seemed fairly sparce across the board for the whole game. Luke managed to cast acquiescence twice on the Doombull and the bound spell on the Warshrine once. I managed Miasma once. Three of the casts impacted movement and in each case made a massive difference. I had heard of the rule of one (as in only expect to get one spell off a turn) and this was demonstrated in this match.
I also messed up deployment somewhat. Yes the units were matched up about as best as they could be, however I need to arrange the BSB and General to get the best leadership bubble coverage. Not being in range to use the general’s leadership on the horde for a couple of turns was really felt when they failed their primal fury.
I felt the horde did OK. I was pleased I reformed them when I did. The aim was to get more ranks but stopping the warriors charging was an added bonus.
I chose not to ambush the smaller Gor unit which might have been a mistake but with 2 of the table edges being impassable and the random deployment for beastmen ambush, I assumed if the roll had been for those edges, they would have remained in reserve.
The Ghorgon did quite well against the Ogres. Although I lost thunderstomp it was a reasonably good match up for him. It may have been a different matter if either of us had remembered the mark of nurgle.
My use of the scouting Harpies was sub-par. Just because they can scout doesn’t mean they have to. I also dithered in their use but at least ran down the hounds to gain some VPs.
It’s a shame the Doombull didn’t get into combat with the combat beast that was masquerading as a Daemon Prince. It would have been an interesting match up and would have given me an idea of his potential in combat.
Overall I was reasonably pleased with how things went, especially for a first game. Am I ready for the 2nd stage of the comp using the Beastmen army? No, but I did have fun with the list and in theory I should only get better with it, so hopefully that will continue when up against the likes of Dan, Paul and Neil. If nothing else, they will help educate me further (as they normal do when playing them) so my playing with the beasts will get stronger.
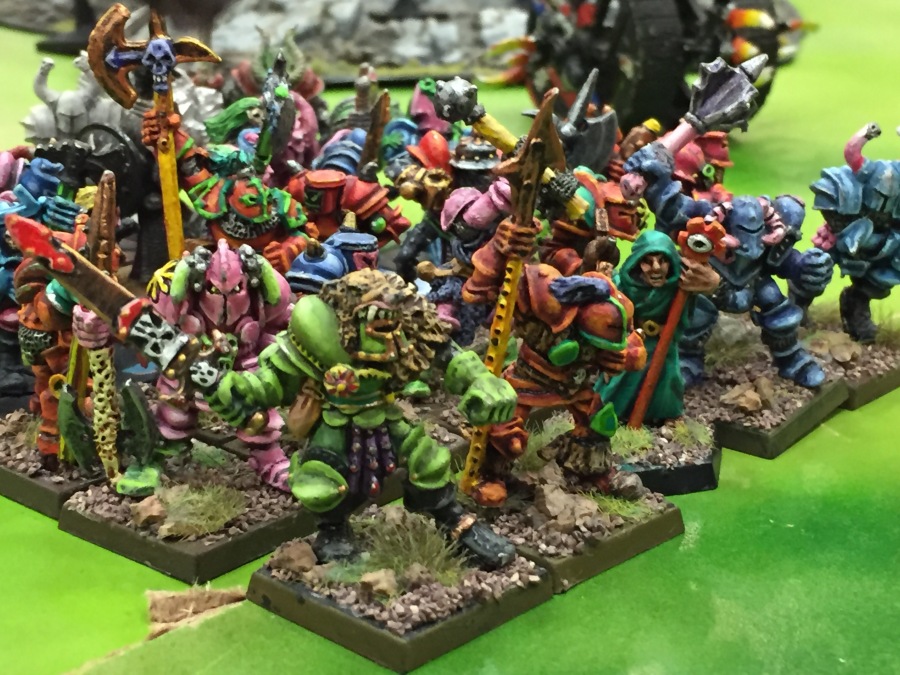
The main thing was that it was enjoyable to use them and to play against Luke. I still love his army and their paint scheme as it reminds me of my early warhammer playing days. I may well have to dig out my orcs because of this.

[…] was whether I would provide a decent challenge with (a) my lack of Beastmen experience (all of 1 game) and (b) as I had been rather ill most of Friday morning (I know, I know – excuses, excuses). […]
LikeLike